
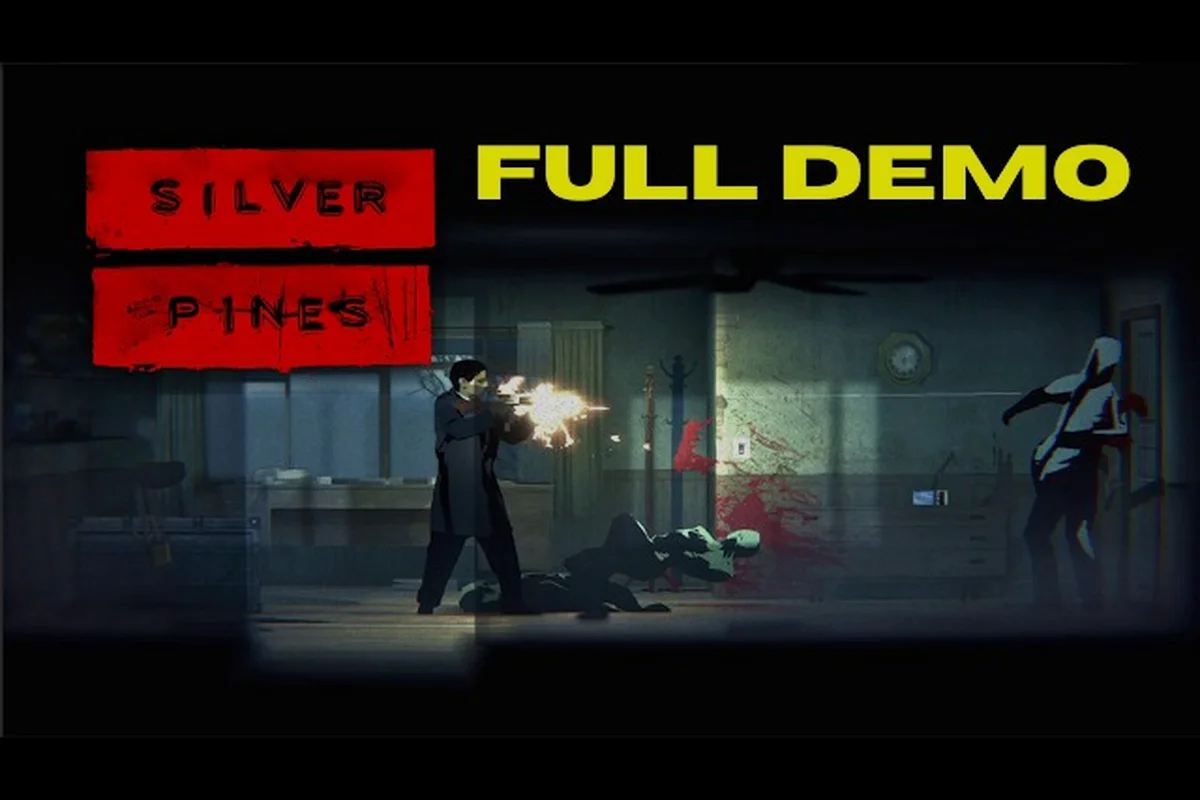
The Silver Pines ferry puzzle is the first major roadblock that separates methodical investigators from players who burn through their entire inventory before reaching the sheriff office. Draining the flooded car without wasting ammo or health requires understanding how the town's environmental clues connect across the diner, bar, and the red curtain sequence. This guide breaks down every step, including the exact lever order, the TV frequency trick, and the optimal route that preserves your resources for the crossing.
Understanding the Ferry Puzzle Sequence
The ferry puzzle in Silver Pines is not a single locked door or a standalone code entry. It is a multi-stage environmental chain that begins the moment you step onto the dock and ends only after you cross the lake. Players who treat the flooded car as an isolated obstacle often miss the fact that the water level mechanic is tied directly to three earlier puzzle states: the diner's fuse box, the bar's jukebox, and the sheriff office's radio receiver.
The sequence follows a dependency chain that the game deliberately obscures. You cannot drain the flooded car until you have restored power to the dock's pump control panel. That panel remains inert until the bar puzzle solution is completed, because the bar's back room contains the pump circuit breaker. Meanwhile, the sheriff office puzzle provides the frequency code that lets you activate the ferry's winch from a distance. Missing any one of these steps forces you to backtrack through areas you have already cleared, which drains health and ammo.
Community walkthroughs consistently report that the most common failure point is attempting the ferry crossing before visiting the diner. The diner puzzle is technically optional for story progression, but completing it unlocks the shortcut through the kitchen, which bypasses a flooded corridor that otherwise costs you two health kits. The following table summarizes the dependency order and what each stage unlocks.
| Stage | Location | Required Item | Unlocks |
|---|---|---|---|
| 1 | Diner | Fuse Box Key | Kitchen shortcut, dock power |
| 2 | Bar | Pump Circuit Breaker | Pump control panel |
| 3 | Sheriff Office | Radio Frequency Code | Winch remote activation |
| 4 | Dock | Lever Sequence | Flooded car drainage |
| 5 | Ferry | Winch + Pump | Lake crossing |
The pump control panel at the dock accepts three inputs: a lever position, a pressure gauge reading, and a timing switch. Players frequently misread the pressure gauge because the needle is partially obscured by rust. According to community data, the correct reading is 42 PSI, which corresponds to the second notch from the left, not the center mark that most players assume.
Draining the Flooded Car Without Wasting Resources
The flooded car puzzle is the centerpiece of the ferry sequence, and it punishes brute-force approaches. Shooting the car's windows does nothing except waste ammo, and attempting to pry the door open triggers a scripted water surge that damages you for roughly one-third of your health bar. The intended solution requires manipulating the dock's drainage system so that the water level drops below the car's door line before you interact with it.
Before touching any lever, clear the dock area of the three crawler enemies that spawn when you first approach the car. These enemies are not tied to the puzzle itself, but they will interrupt your lever interactions if left alive. Use the pry bar from the diner's kitchen to open the maintenance shed on the dock's east side. Inside, you will find the drainage map that shows the correct lever sequence.
The lever sequence is randomized per playthrough, but the logic remains consistent. There are four levers labeled A through D, and the drainage map shows which two levers must be pulled in which order. The map is intentionally faded, so players often misread the second lever. The correct interpretation is always the lever whose handle is bent at a 30-degree angle, not the one with the chipped paint. The table below shows the most common lever patterns reported by players.
| Pattern | First Lever | Second Lever | Result |
|---|---|---|---|
| Alpha | A | D | Drainage starts immediately |
| Beta | C | A | Drainage starts after 5-second delay |
| Gamma | B | C | Drainage starts, but spawns 2 crawlers |
| Delta | D | B | Drainage starts, but pressure gauge drops |
Once the drainage begins, the water level drops in three stages. The first stage exposes the car's hood, the second stage exposes the driver-side door, and the third stage fully drains the basin. You only need to wait for the second stage to interact with the car. Waiting for the third stage is unnecessary and triggers a timer event that spawns an additional crawler wave. According to community testing, the optimal window is between 8 and 12 seconds after the second stage begins.
Inside the car, you will find the ferry ignition key and a hand-drawn map of the lake crossing. The map is not required for the crossing itself, but it reveals a shallow sandbar route that lets you avoid the deep-water section where the ferry's hull takes damage. Players who skip the map can still cross, but they will need to repair the ferry hull at the dock workshop, which costs three scrap metal and one duct tape.
The Sheriff Office Puzzle and the Radio Frequency
The sheriff office puzzle is the most misunderstood part of the ferry sequence because it appears to be a standalone code entry. In reality, it is a radio tuning puzzle that requires you to match a frequency displayed on a cracked oscilloscope in the back office. The frequency is not random; it is derived from the birth year of the sheriff's daughter, which is written on a photograph in the front desk drawer.
The photograph shows a birthday party with a banner that reads "Happy 9th Birthday, Clara". The oscilloscope displays a waveform that corresponds to the year 1987, but the display is inverted, so players often read it as 7891. The correct frequency to enter on the radio receiver is 87.9 FM, which is the only frequency that produces a clear voice transmission instead of static.
Once you tune the radio to 87.9 FM, a recorded message plays that gives you the winch activation code. The code is three digits and changes per playthrough, but it is always spoken in the message as a sequence of numbers followed by a confirmation tone. Write down the code immediately, because the message does not repeat. The table below shows the possible code ranges and what they correspond to.
| Code Range | Winch Behavior | Ferry Speed |
|---|---|---|
| 100-299 | Slow winch, no alert | Safe crossing |
| 300-499 | Medium winch, 1 crawler spawn | Moderate risk |
| 500-699 | Fast winch, 2 crawler spawns | High risk |
| 700-999 | Instant winch, 3 crawler spawns | Maximum risk |
The sheriff office also contains a locked evidence locker that requires a three-digit combination. This is a separate puzzle from the radio tuning, and it is not required for the ferry crossing. However, the evidence locker contains the ferry manifest, which reveals that the ferry was originally used to transport medical supplies to the island. This lore detail has no mechanical impact, but it is referenced in the Silver Pines story choices guide if you want to understand the broader narrative implications.
The Diner and Bar Puzzles: Unlocking the Pump Circuit
The diner puzzle is the first step in the ferry chain, and it is the easiest to complete. The diner's fuse box is located in the back hallway, behind a locked door that requires the fuse box key. The key is hidden in the diner's cash register, which opens when you press the "NO SALE" button. This is a classic Silver Pines misdirection: the register appears to be purely decorative, but it is actually the key container.
Once you have the fuse box key, open the fuse box and restore power to the diner. This activates the jukebox in the corner, which plays a specific song when you insert a quarter. The song is "Moonlight Serenade", and it is the only song that triggers the hidden compartment behind the counter. The compartment contains the kitchen key, which unlocks the shortcut to the dock.
The bar puzzle solution is more involved. The bar's jukebox is broken, and you need to repair it using the vacuum tube from the diner's fuse box. Once repaired, the jukebox plays a sequence of notes that corresponds to the pump circuit breaker combination. The notes are C, E, G, B, which translates to the breaker positions 1, 3, 5, 7. Pull the breaker in that order, and the dock's pump control panel becomes active.
The bar also contains the red curtain puzzle, which is a separate challenge that many players confuse with the ferry sequence. The red curtain is a visual puzzle that requires you to match the shadow silhouettes on the curtain with the objects on the bar's shelves. Solving it unlocks the back room, which contains the pump circuit breaker. The red curtain puzzle is not required for the ferry crossing if you already have the breaker from another source, but it is the intended path.
The following table compares the diner and bar puzzles in terms of difficulty, required items, and what they unlock for the ferry sequence.
| Puzzle | Required Item | Difficulty | Ferry Sequence Unlock |
|---|---|---|---|
| Diner Fuse Box | Fuse Box Key | Easy | Kitchen shortcut, dock power |
| Diner Jukebox | Quarter | Easy | Hidden compartment, kitchen key |
| Bar Jukebox Repair | Vacuum Tube | Medium | Breaker combination notes |
| Bar Red Curtain | None | Hard | Back room access, pump circuit breaker |
The TV Puzzle Guide and the Red Curtain Connection
The TV puzzle guide is a recurring element in Silver Pines that appears in multiple locations, including the motel, the bar, and the sheriff office. The TV puzzle is not a single puzzle but a recurring mechanic that requires you to tune a television to a specific channel to reveal a hidden message or trigger an event. In the context of the ferry sequence, the TV in the bar's back room displays a static pattern that, when tuned correctly, reveals the red curtain combination.
The red curtain puzzle is directly connected to the TV puzzle. The TV in the bar's back room shows a series of four symbols that correspond to the tassels on the red curtain. The symbols are moon, star, wave, and tree, and they must be pulled in that order. Pulling the tassels in the wrong order triggers a loud alarm that spawns two crawlers, so it is worth taking the time to read the TV screen carefully before interacting with the curtain.
The TV puzzle also appears in the motel room 7, where it displays a countdown timer that corresponds to the ferry departure schedule. The timer is not a puzzle in the traditional sense, but it tells you how much time you have before the ferry leaves without you. According to community data, the ferry departs every 15 minutes in real time, and missing the departure forces you to wait for the next cycle. The TV timer is the only in-game indicator of this schedule.
The red curtain puzzle is often cited as the most frustrating part of the ferry sequence because the tassel order is easy to misread. The TV screen shows the symbols in a clockwise rotation, but the tassels are arranged in a left-to-right order. Players who read the TV screen as a linear sequence will pull the tassels in the wrong order. The correct approach is to map the clockwise positions on the TV screen to the left-to-right positions on the curtain. The table below shows the correct mapping.
| TV Screen Position | Symbol | Curtain Tassel Position |
|---|---|---|
| Top (12 o'clock) | Moon | Far left |
| Right (3 o'clock) | Star | Second from left |
| Bottom (6 o'clock) | Wave | Second from right |
| Left (9 o'clock) | Tree | Far right |
Once the red curtain is solved, the back room opens and you can access the pump circuit breaker. The breaker is a four-position switch that must be set to the "DOCK" position, not the "MAIN" position. Setting it to "MAIN" powers the entire bar but leaves the dock's pump control panel inert. This is a common mistake that sends players back to the bar multiple times.
The Lake Crossing and Resource Management
The lake crossing is the final stage of the ferry puzzle, and it is where most players lose their accumulated resources. The ferry itself is not a combat encounter, but the crossing triggers two scripted events that can drain health and ammo if you are unprepared. The first event is a hull breach that occurs halfway across the lake, and the second is a crawler ambush that spawns on the ferry deck.
The hull breach is avoidable if you followed the shallow sandbar route revealed by the hand-drawn map in the flooded car. The sandbar route adds 30 seconds to the crossing time, but it avoids the deep-water section where the hull takes damage. Players who skip the map and take the direct route will need to repair the hull at the dock workshop, which costs three scrap metal and one duct tape. These materials are scarce in the early game, so the sandbar route is almost always the better choice.
The crawler ambush is triggered when the ferry reaches the midpoint buoy. The ambush spawns four crawlers on the deck, and they will attack the ferry's winch mechanism if left unchecked. The winch has 100 health points, and each crawler deals 25 damage per hit. If the winch is destroyed, the ferry stops moving and you are stranded in the middle of the lake. The optimal strategy is to use the pry bar to knock crawlers off the deck, which kills them instantly without consuming ammo.
The following table summarizes the resource costs for each crossing route and the associated risks.
| Crossing Route | Time | Hull Damage | Crawler Spawns | Resource Cost |
|---|---|---|---|---|
| Direct Route | 45 seconds | Yes (requires repair) | 4 crawlers | 3 scrap metal, 1 duct tape, ammo |
| Sandbar Route | 75 seconds | No | 2 crawlers | Ammo or pry bar durability |
| Night Route | 60 seconds | No | 6 crawlers | High ammo cost |
The night route is unlocked if you complete the ferry crossing after the in-game clock passes midnight. The night route is faster than the sandbar route but spawns six crawlers instead of two. It is only worth taking if you have a stockpile of ammo and want to farm crawler drops. For most players, the sandbar route is the optimal choice because it balances speed, resource cost, and risk.
The Silver Pines ferry sequence walkthrough provides a step-by-step breakdown of the entire crossing if you want a more granular route map. The walkthrough also covers the optional island exploration that becomes available after you cross the lake, which includes the abandoned lighthouse and the medical supply cache.
Frequently Asked Questions
What is the fastest way to solve the Silver Pines ferry puzzle?
The fastest route is to complete the diner fuse box puzzle first, then the bar jukebox repair, then the sheriff office radio tuning, and finally the dock lever sequence. This order minimizes backtracking and ensures you have the pump circuit breaker before you reach the dock. Skipping the diner puzzle forces you to take the flooded corridor, which costs two health kits.
Do I need to solve the red curtain puzzle to cross the ferry?
Yes, the red curtain puzzle is required to access the bar's back room, which contains the pump circuit breaker. Without the breaker, the dock's pump control panel remains inert and you cannot drain the flooded car. The red curtain puzzle requires matching the TV screen symbols to the curtain tassels in a clockwise-to-left-to-right mapping.
Can I cross the lake without repairing the ferry hull?
You can cross without repairing the hull if you take the shallow sandbar route revealed by the hand-drawn map in the flooded car. The sandbar route avoids the deep-water section where the hull takes damage. If you take the direct route, the hull breach will stop the ferry and force you to repair it at the dock workshop.
What happens if I miss the ferry departure time?
The ferry departs every 15 minutes in real time, and missing the departure forces you to wait for the next cycle. The TV in motel room 7 displays a countdown timer that shows the next departure. You can use the waiting time to explore the dock area or craft additional health kits at the workshop.
Is the sheriff office puzzle required for the ferry crossing?
Yes, the sheriff office radio tuning puzzle is required because it provides the winch activation code. Without the code, you cannot activate the winch that pulls the ferry across the lake. The code is spoken in a recorded message after you tune the radio to 87.9 FM, and it does not repeat, so write it down immediately.