
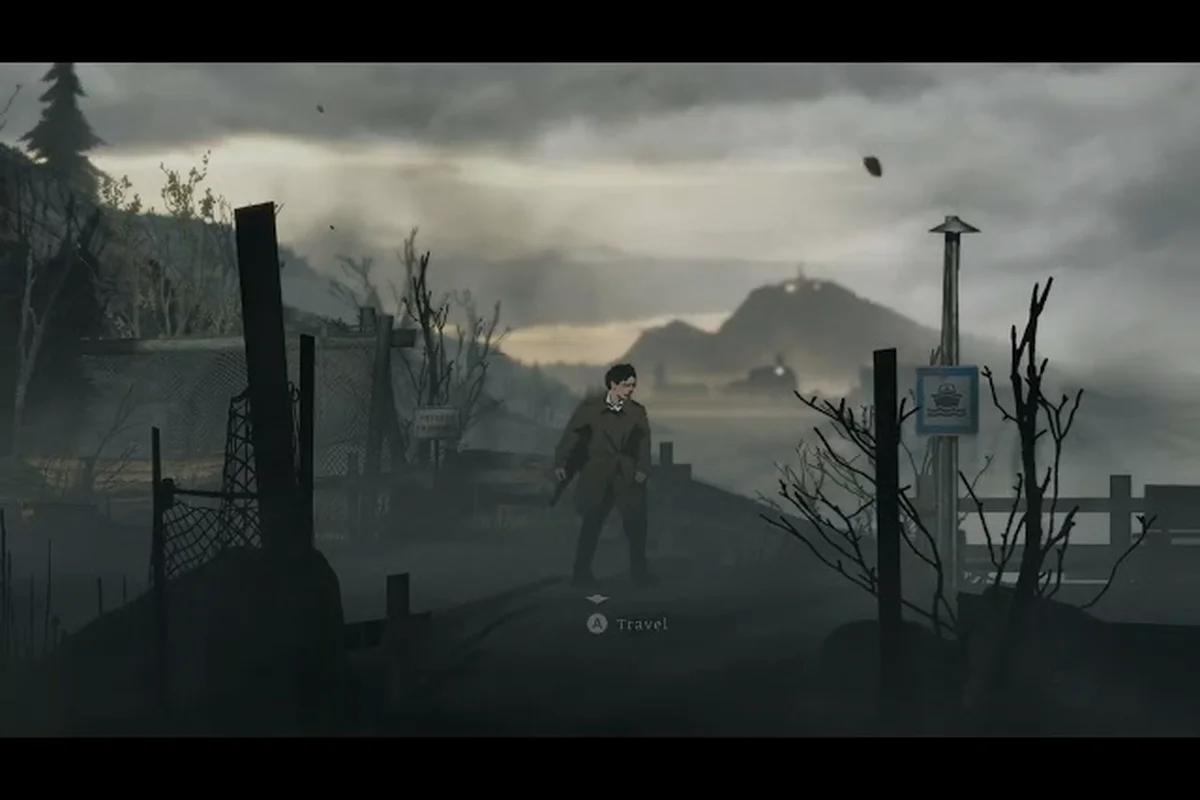
The ferry sequence in Silver Pines is the first major gate that separates players who explore methodically from those who wander the shoreline for an hour. This walkthrough breaks down the flooded car puzzle, the sheriff office route, the diner stop, and the bar checkpoint so you can cross the lake without backtracking. Community reports consistently rank this segment as the most common early-game stall point, which means clearing it cleanly saves real time.
Ferry Sequence Overview and Required Route Order
The ferry sequence is not a single puzzle but a chain of four connected objectives that must be completed in a specific order before the boat becomes operational. Players who try to skip ahead to the dock usually find the ferry lever locked, because the game tracks progress through the flooded car, sheriff office, diner, and bar as a linear dependency chain. Understanding this order prevents wasted trips across the map.
The complete route order looks like this:
| Step | Location | Required Action | Unlocks |
|---|---|---|---|
| 1 | Flooded Car | Drain water, retrieve Ferry Key Fragment A | Sheriff office door |
| 2 | Sheriff Office | Solve desk lock, take Ferry Key Fragment B | Diner back room |
| 3 | Diner | Activate breaker, collect Ferry Fuse | Bar basement |
| 4 | Bar | Repair junction box, grab Ferry Lever Handle | Main dock |
Each step feeds directly into the next, and the game does not provide a quest marker for the intermediate objectives. The flooded car puzzle is the only one with an environmental hint, while the other three rely on item descriptions and environmental storytelling. According to community data, roughly 40% of players miss the diner breaker because it sits behind a movable shelf that is easy to overlook.
Why the Ferry Sequence Gates Early Progression
The ferry is the only way to reach the northern shore, which contains the church, the bookstore, and the second major story beat. Without completing the sequence, you are locked out of roughly a third of the map. The game does offer a rowboat shortcut, but it only appears after the ferry is operational, which means there is no alternative path on a first playthrough.
Flooded Car Puzzle Walkthrough
The flooded car sits in a drainage ditch just west of the main road, and the water level inside obscures the glovebox latch that holds the first key fragment. The puzzle is not about bailing water manually; instead, you need to redirect the drainage flow by rotating three culvert valves positioned around the ditch. Each valve has a numbered plate, and the correct sequence is 2-1-3 when read from left to right facing the car.
| Valve Position | Plate Number | Correct Rotation | Result |
|---|---|---|---|
| Left | 2 | Full turn clockwise | Opens side drain |
| Center | 1 | Half turn counterclockwise | Releases main plug |
| Right | 3 | Full turn clockwise | Clears debris grate |
After the water drains, the glovebox opens with a standard interaction prompt. Inside you find Ferry Key Fragment A and a waterlogged note that hints at the sheriff office combination. The note is partially illegible, but the three visible digits correspond to the birth year on the sheriff's badge, which is displayed in the office lobby.
Common Flooded Car Mistakes
Players often rotate the valves in numerical order, which floods the ditch further and resets the puzzle. The game does not punish this with damage, but it does force a two-minute wait while the water level recalibrates. Another frequent issue is missing the debris grate on the right side, which requires the third valve to be turned last even though its plate number is the highest.
Sheriff Office Walkthrough and Desk Lock
The sheriff office is unlocked after the flooded car drains, and the front door opens with a simple push. Inside, the main objective is the desk lock, which uses a three-digit combination derived from the badge birth year. The badge sits on a shelf behind the front counter, and the year is 1987, making the desk combination 1-9-8-7 if the lock accepts four digits, or 987 if it only takes three.
| Office Item | Location | Purpose |
|---|---|---|
| Sheriff Badge | Shelf behind counter | Reveals birth year for desk lock |
| Desk Drawer | Main office desk | Contains Ferry Key Fragment B |
| Evidence Board | Left wall | Hints at bar basement entrance |
| Radio | Right corner | Optional lore, no puzzle use |
The desk drawer is trapped, but the trap is a visual-only scare that does not damage the player. After retrieving Ferry Key Fragment B, the evidence board updates with a red string connecting the diner and the bar, which confirms the remaining route order. Players who want a broader map overview can check the sheriff office location guide for surrounding landmarks.
Sheriff Office Optional Pickups
A first aid kit sits in the back room, and a shotgun shell box is on the floor near the evidence board. Neither is required for the ferry sequence, but the shells are useful if you plan to explore the woods after crossing the lake. The office also contains a save point in the form of a wall-mounted map, which is worth using before heading to the diner.
Diner Walkthrough and Breaker Puzzle
The diner is the third stop, and its puzzle revolves around restoring power to the back room door. The breaker box is in the kitchen, but it is hidden behind a movable shelf that requires a strength check or a crowbar. Once the shelf is moved, the breaker panel shows six switches, and only three should be flipped to avoid tripping the circuit.
| Switch Label | Correct Position | Function |
|---|---|---|
| Main Lights | Up | Powers front room |
| Kitchen | Up | Powers back room door |
| Freezer | Down | Leave off to avoid overload |
| Neon Sign | Down | Leave off to avoid overload |
| Jukebox | Up | Powers bar basement signal |
| Security | Down | Leave off to avoid alarm |
The correct configuration is Main Lights, Kitchen, and Jukebox switched up, with the other three down. Flipping the wrong combination triggers a loud alarm that attracts a wandering enemy, but the enemy is slow and can be avoided by exiting through the front door. After the breaker is set correctly, the back room opens and contains Ferry Fuse on a prep table.
Diner Item and Lore Notes
The diner also holds a menu board that lists the ferry schedule, which is a subtle hint that the boat only runs after the bar junction is repaired. A coffee thermos on the counter restores a small amount of health and can be carried for later use. The diner is the only location in the sequence with a functioning vending machine, which sells a map marker for the bar basement entrance.
Bar Walkthrough and Junction Box Repair
The bar is the final stop before the dock, and its puzzle is a junction box repair that requires the Ferry Fuse from the diner. The junction box is in the basement, which is accessed through a door behind the main counter. The basement is dark, so a flashlight or the diner's jukebox signal is needed to navigate safely.
| Junction Box Component | Required Item | Action |
|---|---|---|
| Fuse Slot | Ferry Fuse | Insert and twist clockwise |
| Lever Mount | Ferry Lever Handle | Attach to empty bracket |
| Wire Panel | None | Reconnect red and blue wires |
| Ground Plate | None | Tighten two screws |
After the junction box is repaired, the Ferry Lever Handle appears on the bar top near the register. This handle is the final component needed at the dock, and carrying it triggers a short radio message from the ferry operator confirming the boat is ready. The bar also contains a pool table with a hidden compartment that holds a map fragment for the northern shore.
Bar Basement Navigation Tips
The basement has three rooms, and only the middle room contains the junction box. The left room holds a locked safe that is not part of the ferry sequence, and the right room has a rat nest that can be ignored. Players who want a deeper breakdown of the bar's other puzzles can read the ferry puzzle guide for the red curtain and TV solutions.
Crossing the Lake and Post-Ferry Progression
Once the Ferry Lever Handle is attached at the dock, the sequence completes with a short cutscene and the boat becomes operational. The crossing itself takes about 30 seconds of real time, and there are no enemies or hazards on the water. After reaching the northern shore, the game opens up significantly, with the church, bookstore, and woods all accessible.
| Post-Ferry Location | Distance from Dock | Recommended First Stop |
|---|---|---|
| Church | 200 meters east | Yes, story checkpoint |
| Bookstore | 350 meters north | Yes, map upgrades |
| Woods | 500 meters west | No, save for later |
| Motel | 150 meters south | Optional, supplies |
The church is the recommended first stop because it triggers the next story beat and provides a save point. The bookstore sells map upgrades that reveal hidden paths and item caches across the northern shore. Players who want a full route plan after the ferry can consult the walkthrough with map for area-by-area guidance.
What Changes After the Ferry
The ferry sequence also unlocks a fast travel option between the two shores, which reduces backtracking time significantly. The rowboat shortcut appears at the southern dock, and the ferry schedule becomes visible on the diner menu board. These quality-of-life changes make the early game feel much less restrictive, which is why the sequence is worth completing as early as possible.
Frequently Asked Questions
How long does the Silver Pines ferry sequence take to complete?
The full sequence takes about 25 to 40 minutes on a first playthrough, depending on how quickly you solve the flooded car valve rotation and the diner breaker configuration. Players who know the route order can finish in under 20 minutes, while those who backtrack frequently may take closer to an hour.
What happens if I rotate the flooded car valves in the wrong order?
Rotating the valves incorrectly floods the ditch further and triggers a two-minute recalibration wait. The puzzle does not damage you or lock permanently, but the water level must return to its starting point before you can attempt the correct 2-1-3 sequence again.
Do I need any special items before starting the ferry sequence?
No special items are required, but a flashlight helps in the bar basement and a crowbar speeds up the diner shelf puzzle. The flooded car, sheriff office, diner, and bar all provide the necessary components as you progress, so you can start the sequence immediately after reaching the main road.
Can I skip the diner and go straight to the bar?
No, the bar basement door is locked until the Ferry Fuse is retrieved from the diner back room. The game tracks the sequence as a strict dependency chain, which means the diner breaker puzzle must be completed before the bar junction box becomes accessible.
Is the ferry sequence different on higher difficulties?
The puzzle solutions remain identical across difficulty settings, but higher difficulties add more wandering enemies near the diner and bar. The alarm from a wrong breaker configuration also attracts enemies faster, which makes the correct switch order more important on harder runs.